


Getting Started With React
The first thing we'll do is spin up our React app using Create React App and install our dependencies. We won't use any separate validation library or styling for this basic tutorial, so the only thing we need to install is React and Formik.
This will set up everything we need for a simple React app. Open the src/App.js file and delete the boilerplate code, then replace it with the following snippet:
All we've done here is create a basic component that will eventually render our form. Head over to https://localhost:3000 to check it out.
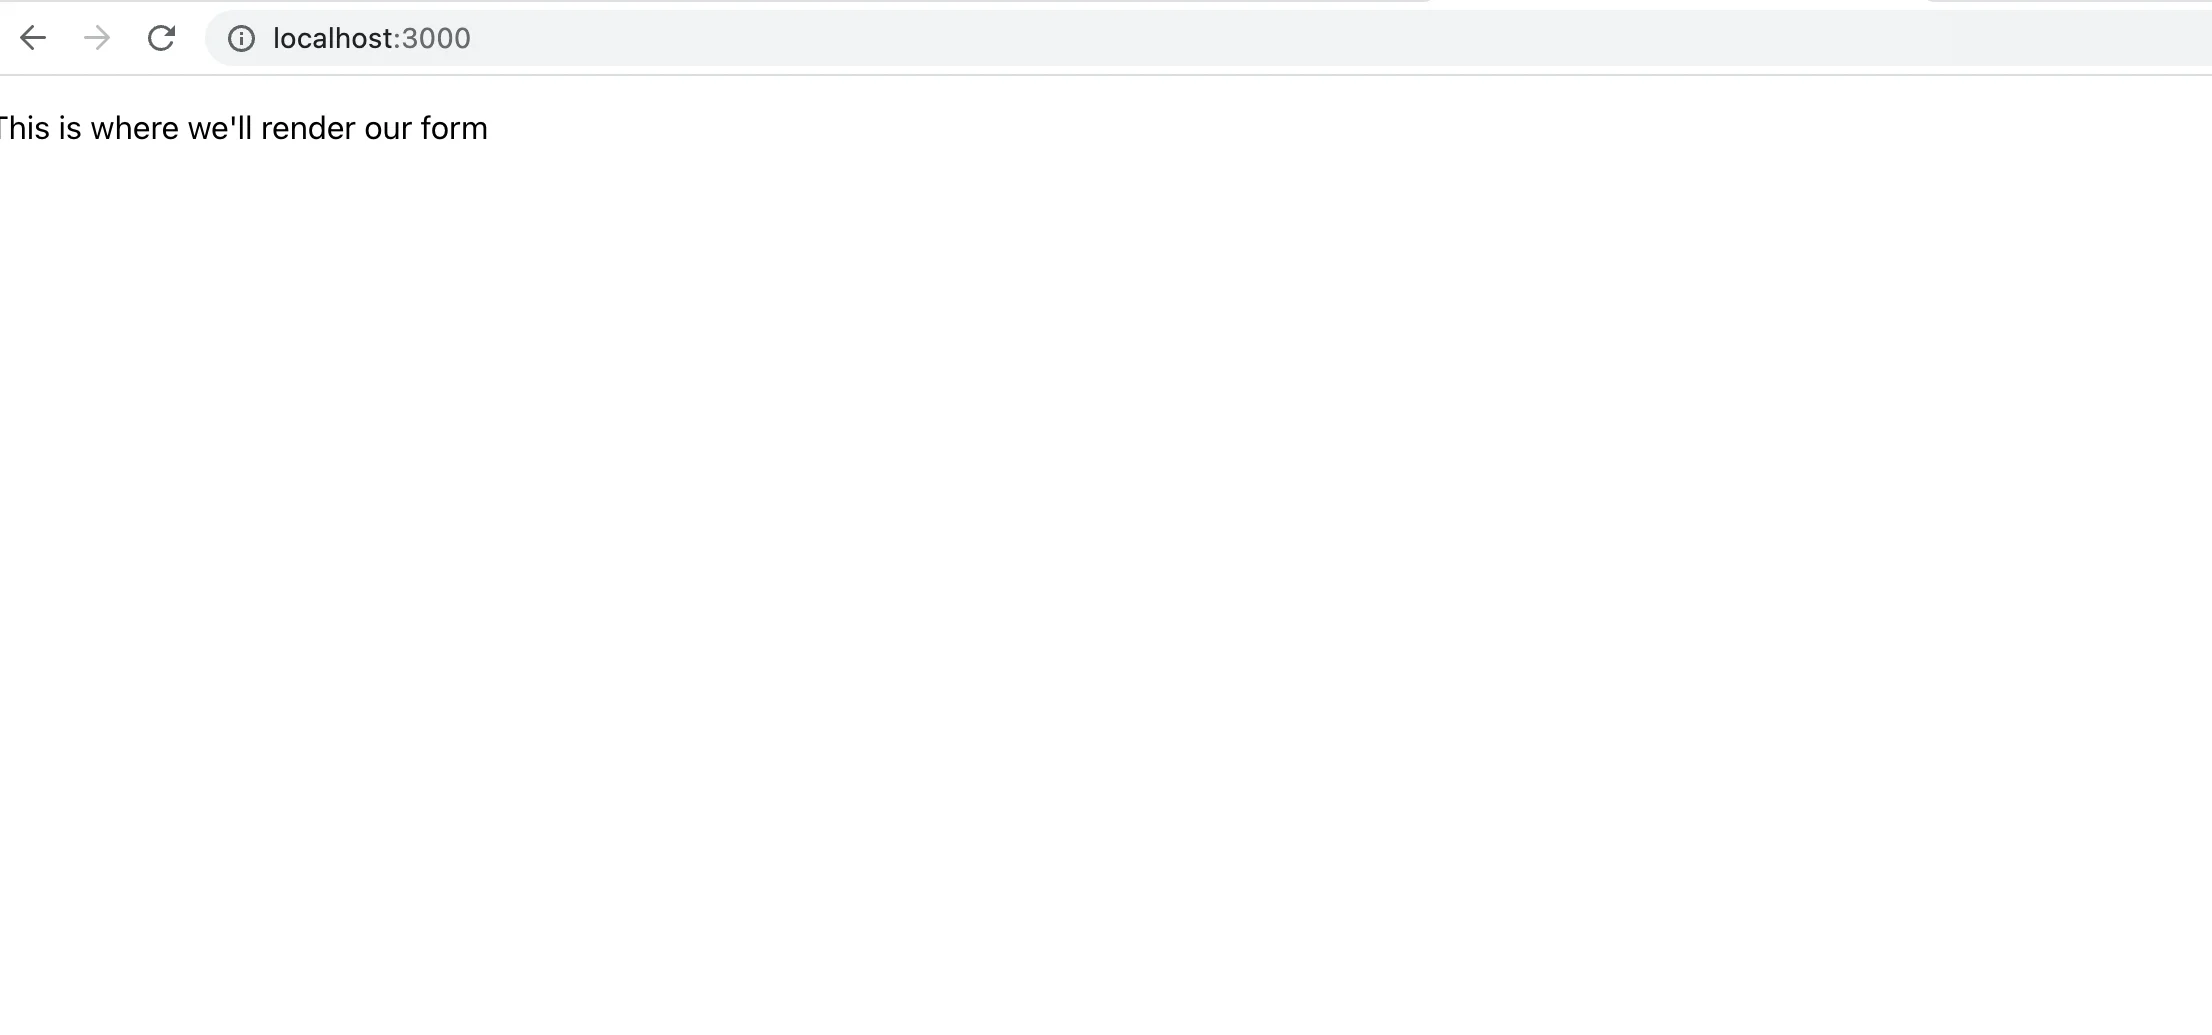
As you can see, nothing very exciting is happening yet. Let's build our email input.
Getting Started With Formik
We need to import Formik into our component and build a basic form component. Formik is a React Hook-based library, and it exports several hooks for use in your components. Import the useFormik hook at the top of your app and use it to create a new formik instance.
We passed the useFormik hook to an initial values object containing an email field. In a real form, you might include some more fields here, such as name, age, password, etc.
Formik will pass the onSubmit function a values object as a parameter, containing all the values from your form. At this time, you can validate the form's values, send those values to your server, or do more processing. For now, we are just logging the values to the console.
Create the Form Component
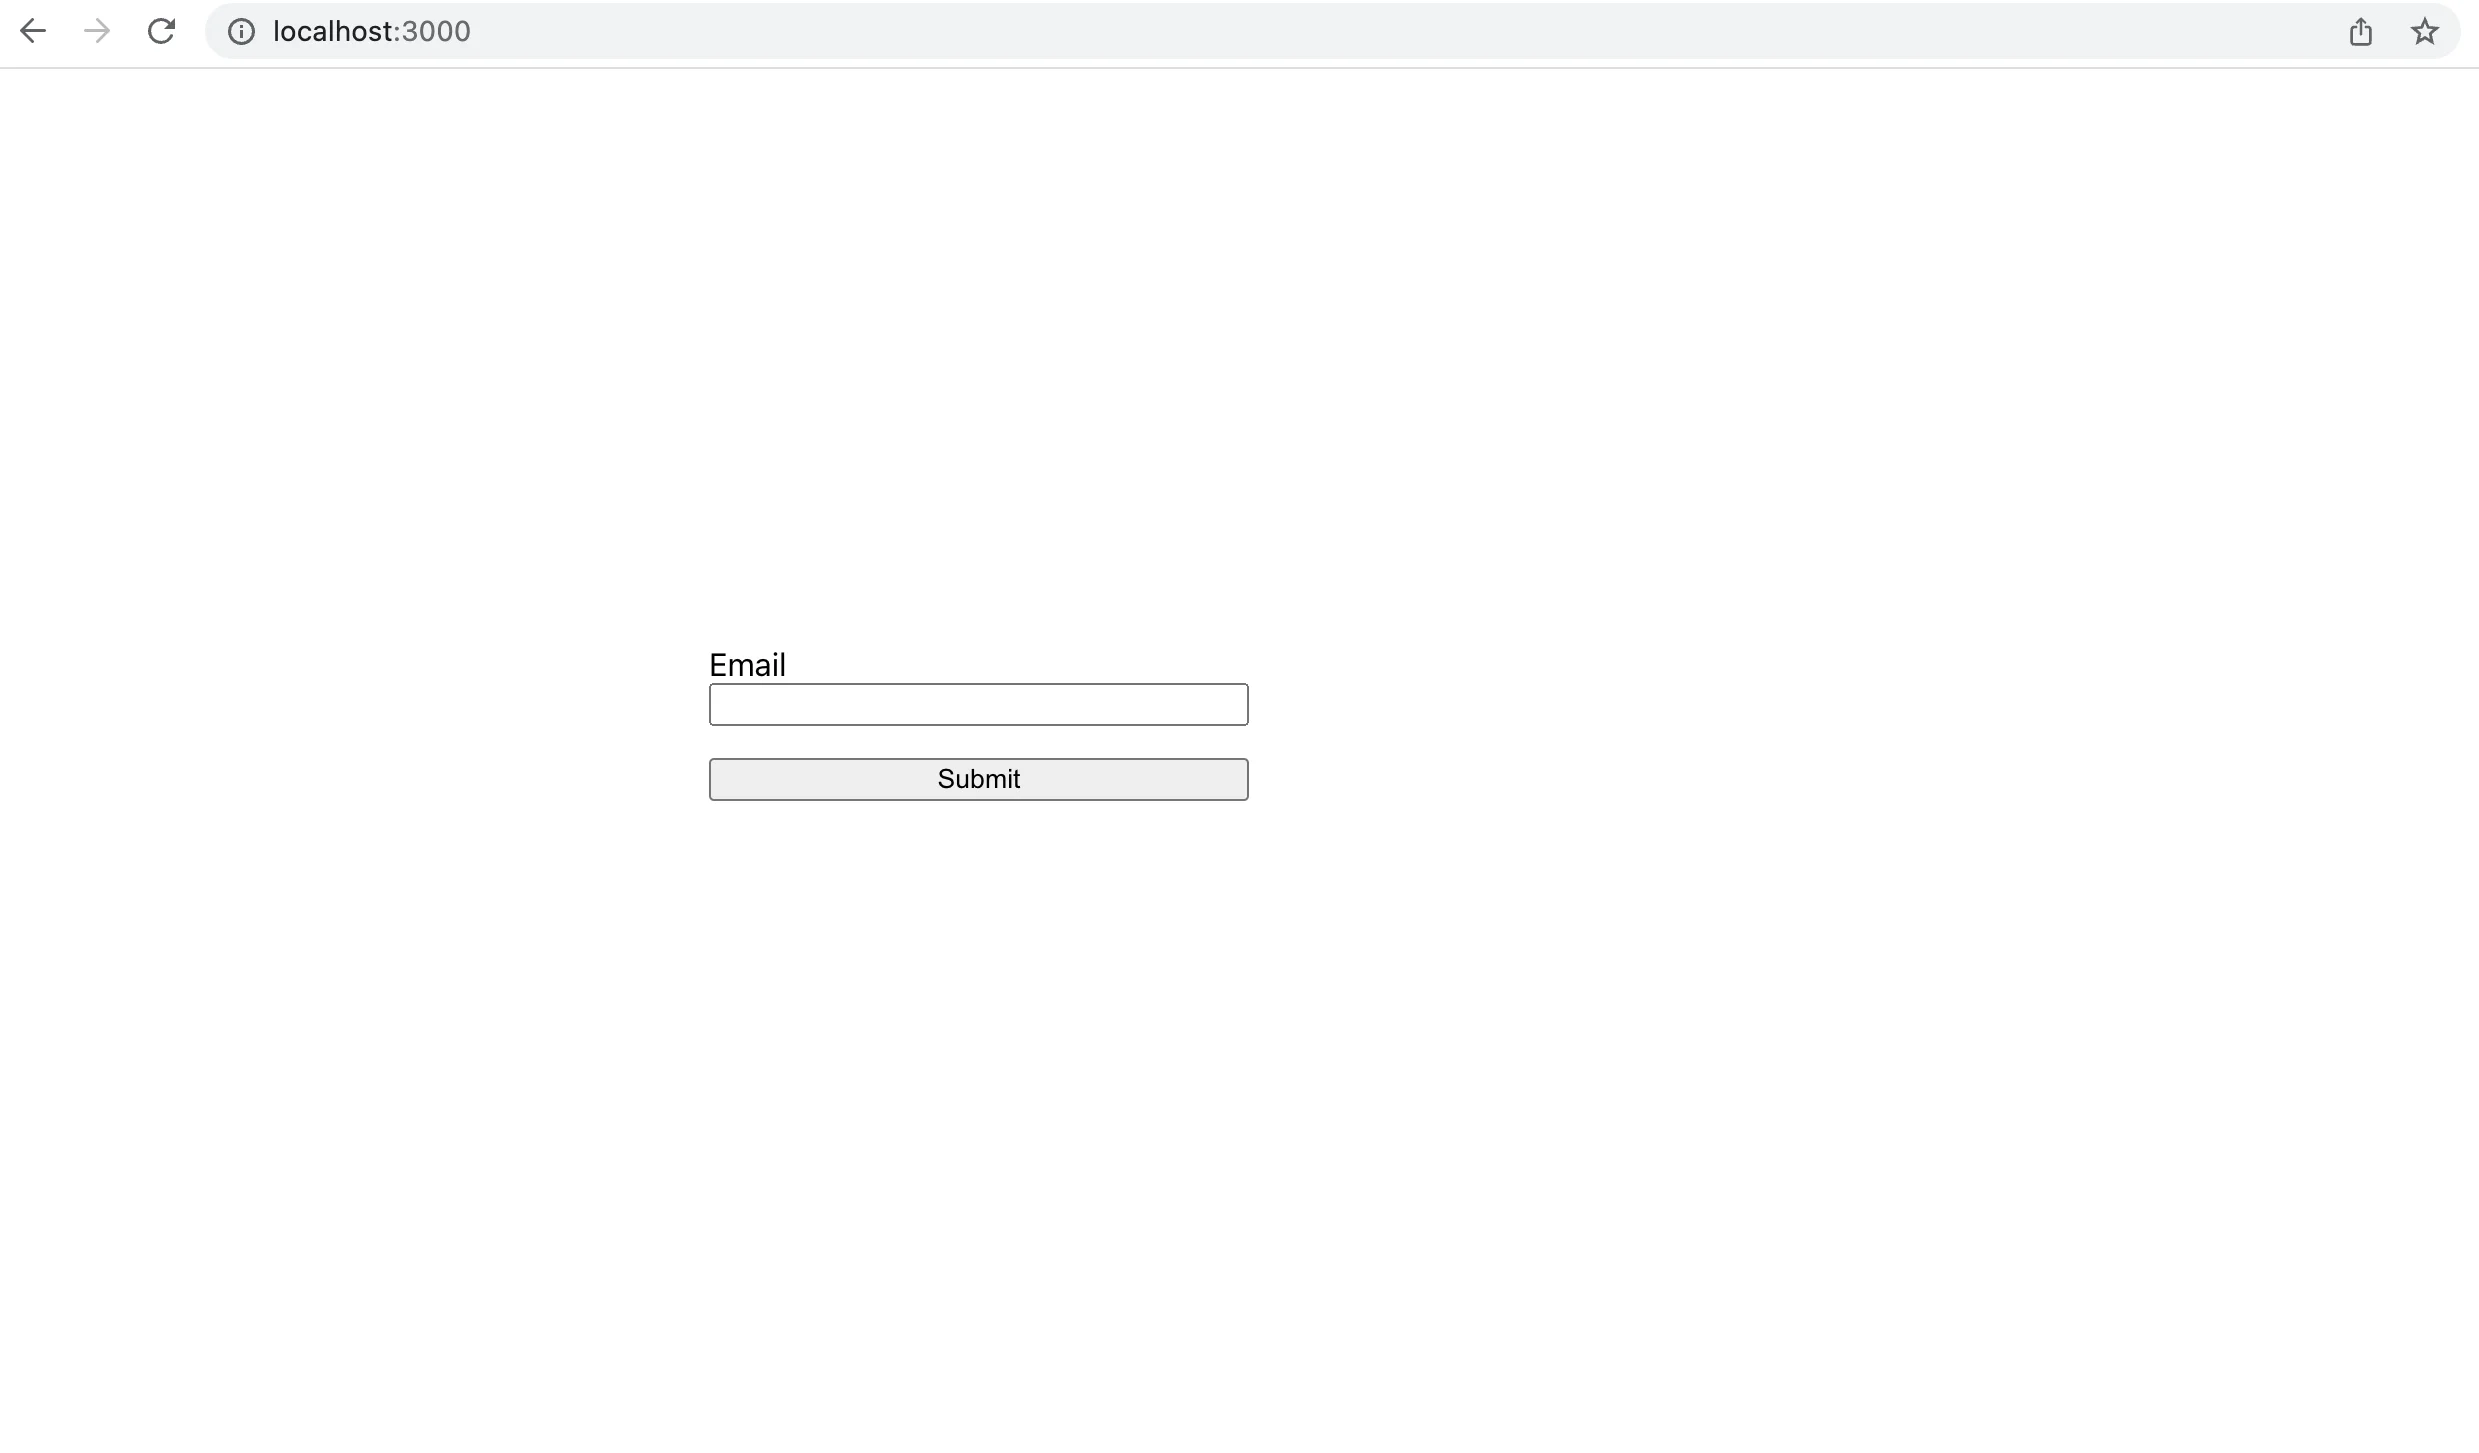
We're now ready to add the formik instance to a form. Delete everything inside the return statement in App.js and replace it with the following.
This renders a very simple form with just one input and a submit button. We've tied the submit function to the form using the provided formik.handleSubmit method, and we've used the formik.handleChange methods to handle updating our input. We don't have to manage any state changes at all!
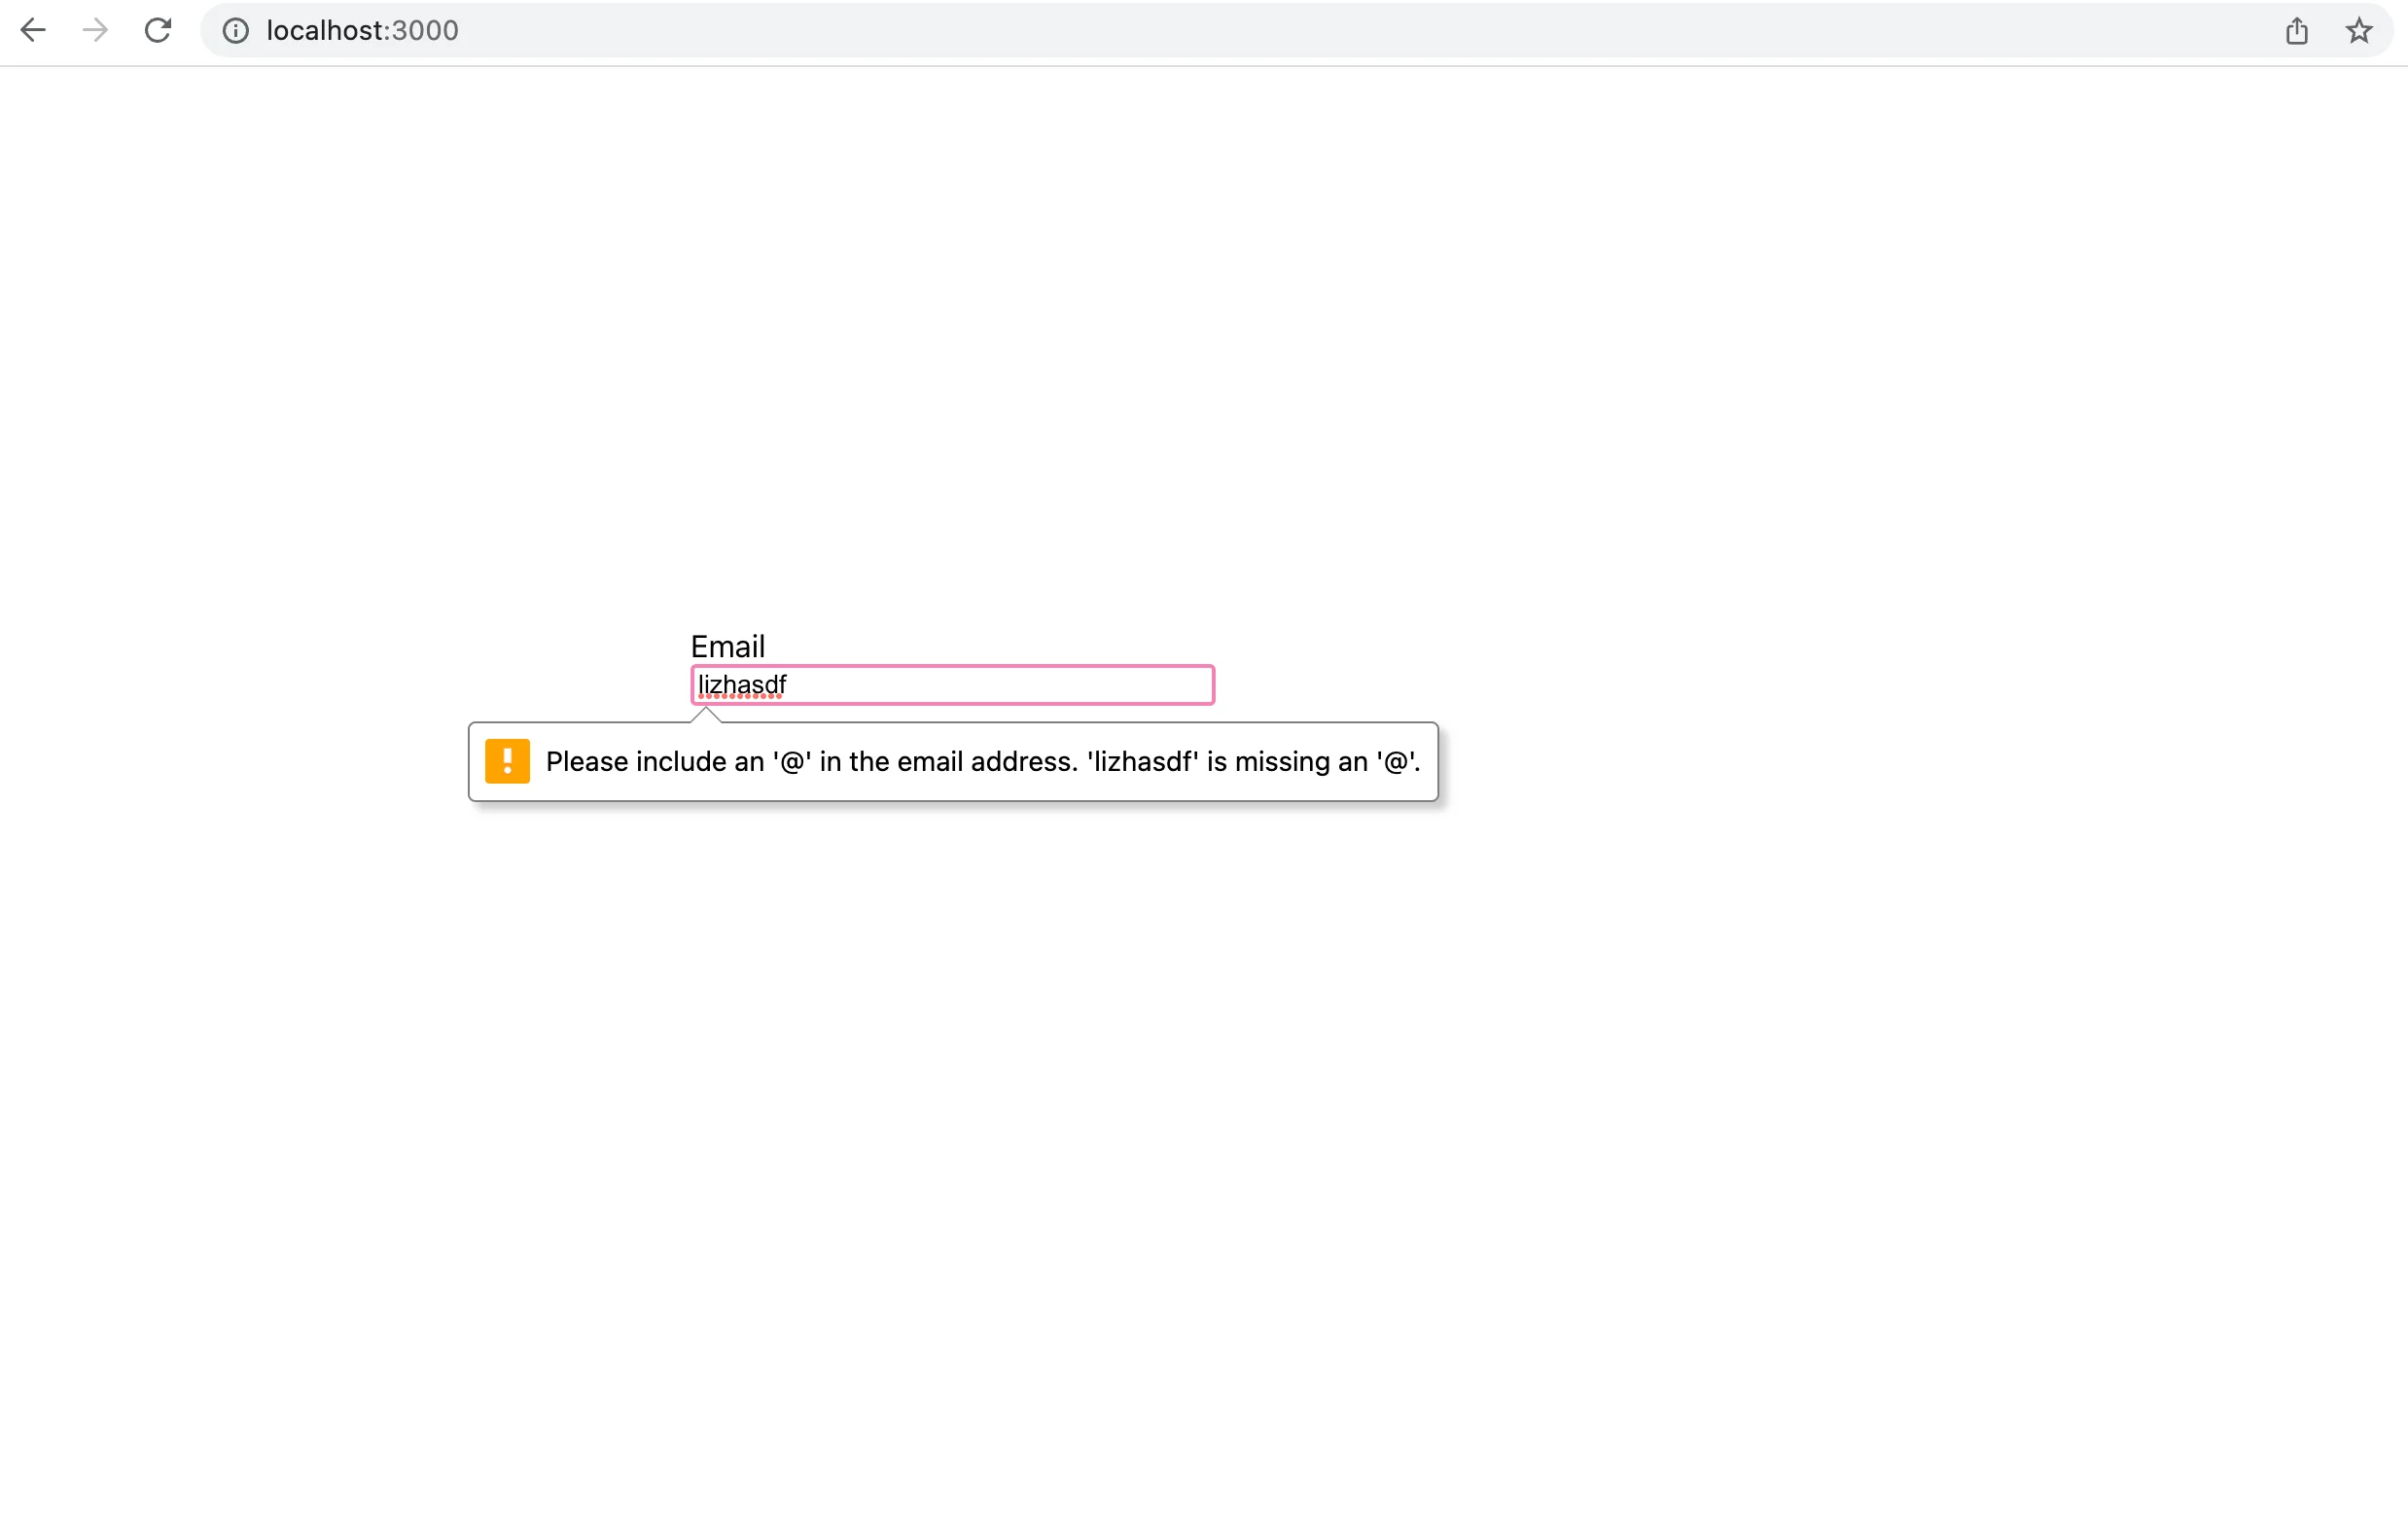
We've also included the HTML5 validation attribute of type. This attribute can be added to all HTML input fields to provide basic validation from the browser. Try typing an invalid email into the input and hitting "Submit." You'll already see a validation error message from the browser.
Add Validation Logic
HTML input field level validation is fine, but usually, you want more control over your validation and error messages. For that, we'll need to add some custom validation rules.
Formik allows you to add validation in several ways. You can do form-level validation or field-level validation, or you can simply write a validation function inside the onSubmit handler. You can trigger form-level validation manually or allow Formik to trigger it for you when the onSubmit handler runs. You can also trigger field-level validation manually, or allow Formik to trigger it for you when the onChange handler runs.
Add a validate field to the useFormik hook just after the onSubmit method. The validate function takes a values parameter which gives you access to all the form's values. This is an example of form-level validation.
The validate function returns an errors object which will be picked up by Formik and can be used to display error messages to the user. Formik will automatically run the validate function anytime it runs the handleChange handler.
Let's make our email validator a little more useful. Update your validate function with the following code.
This will now check that the user passes a properly formatted email address to the input.
Handle Errors
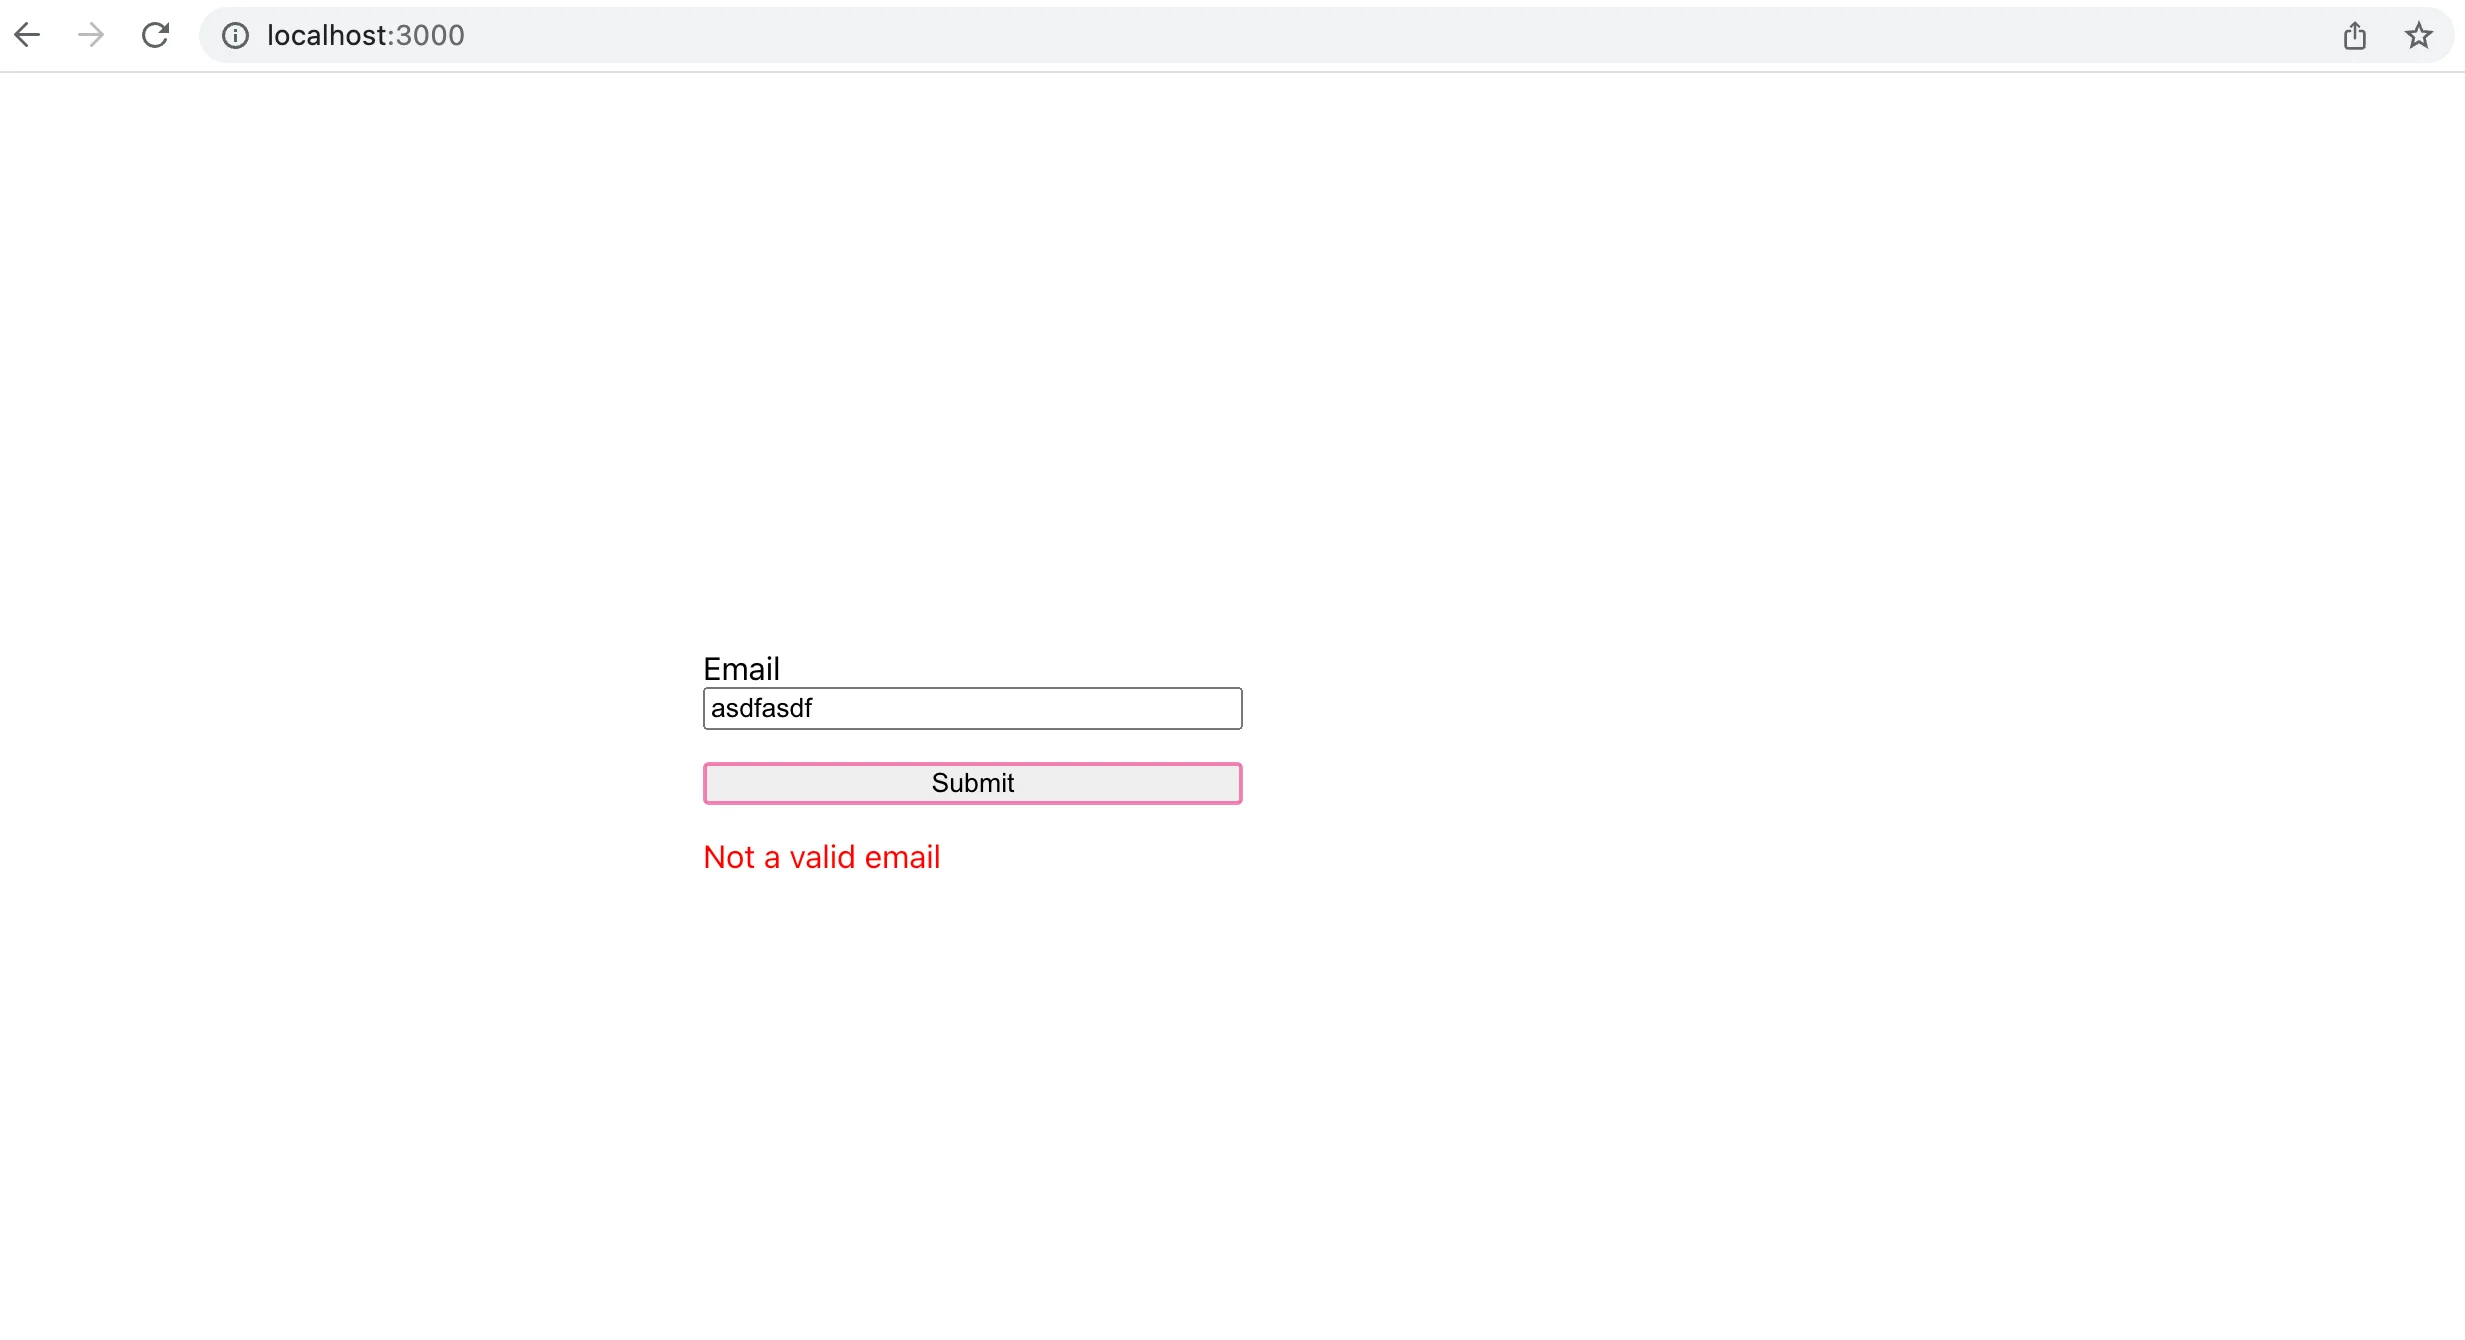
We're returning an errors object but right now, we're not using it. Let's render the error message to our user. We can do that by using the provided formik.errors field. Add the following line to the bottom of your form component, inside the <div> just below the submit button.
You can also remove the HTML5 type attribute from the email input element.
Now, if there is a value in the email field of the errors object, it will be rendered. Head back to http://localhost:3000 and type an invalid email into the input. You should see your error message show up just below the Submit button.
Add More Robust Validation
This level of validation is okay, but it's not a good idea to use Regex alone to validate emails in production. It's impossible to capture all possible email formats with a single Regex expression, and simply checking the string for invalid characters won't tell you if the SMTP or MX records are valid, if the email is a free or temporary email, if it is active and can receive emails, or if it is a spam address.
For that level of robust validation, you need a dedicated third-party API like the AbstractAPI Free Email Validation API. Let's add a validation step using the API.
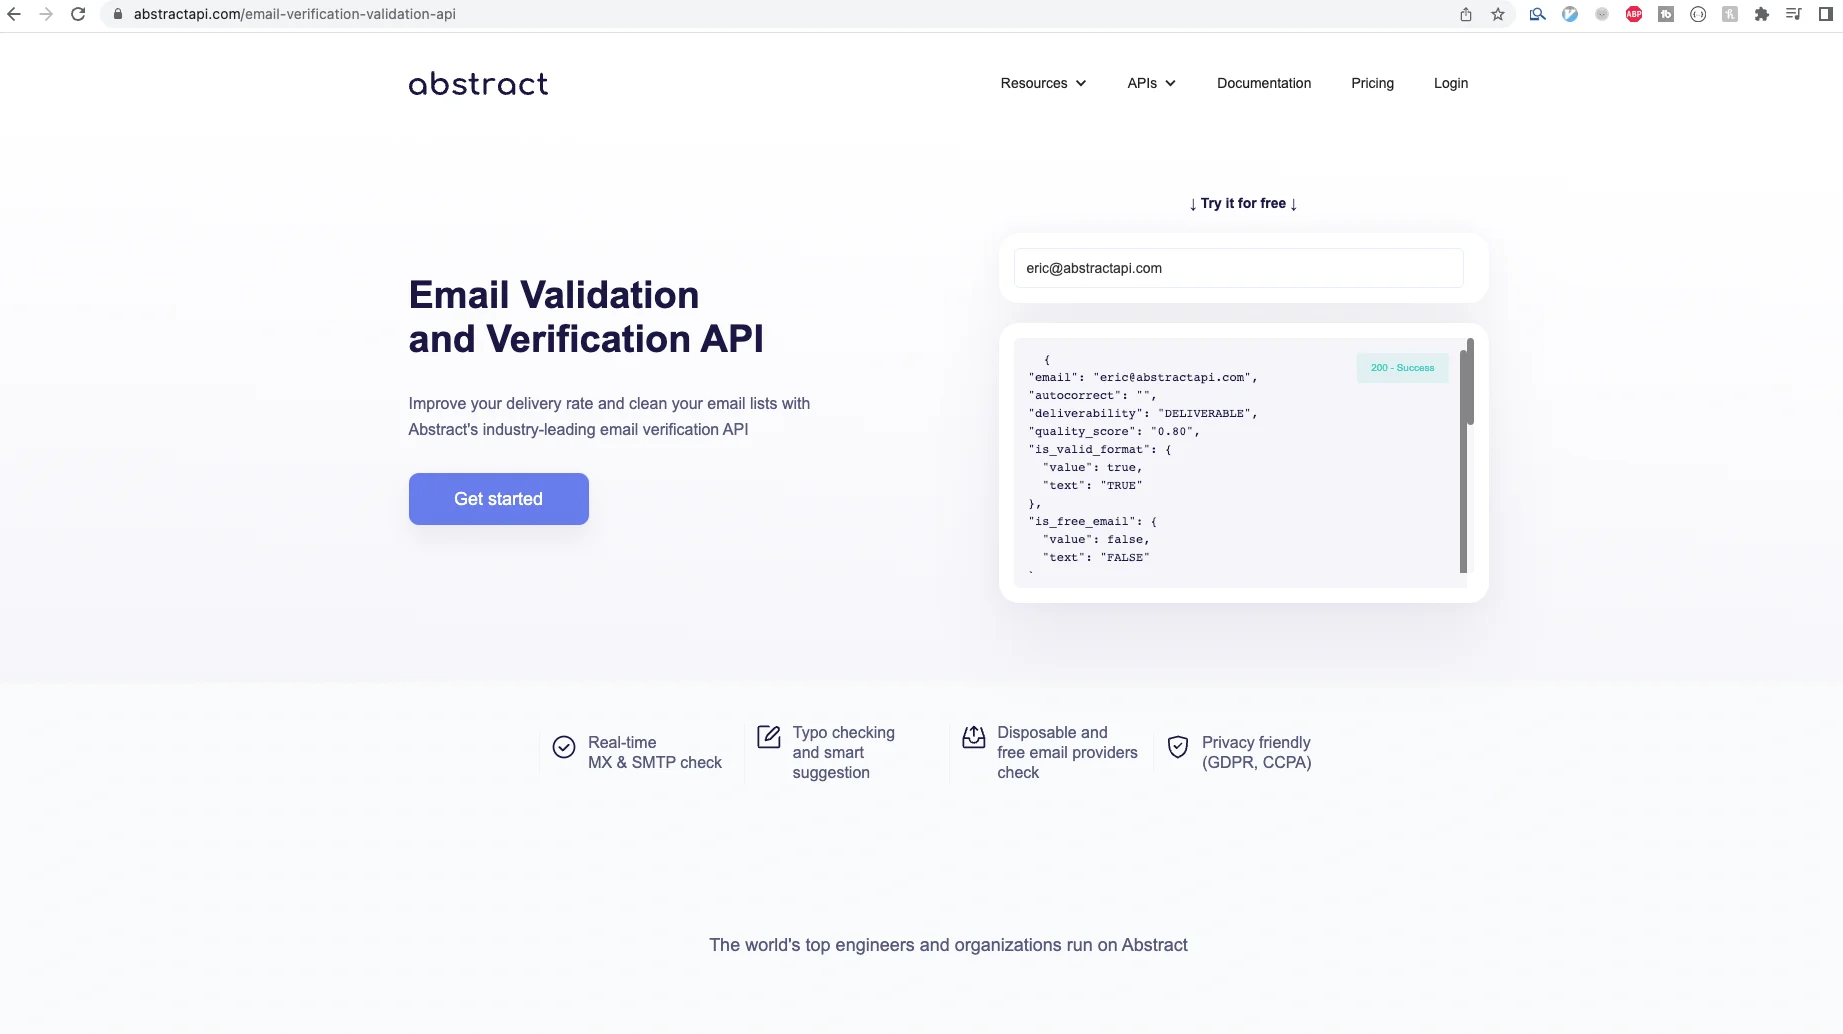
Get Started With the Email validation API
You'll need to sign up for an account and get an API key in order to use the API. Don't worry, it's free. If you've used AbstractAPI before, you'll still need to log in and get a new key, since each of their APIs requires a different key, so you can't reuse an existing one.
Navigate to the API home page and click "Get Started"
Log in or sign up and you'll land on the email API dashboard, where you'll see your API key. Add the API key and the API url to the top of your form component underneath the imports.
Move the Validation Function to the Submit Handler
Because we are going to be sending a network request to an external API to validate our email, it doesn't make sense to trigger the validation function on every call of the onChange handler. Doing so would send too many to the API, resulting in an error. It would also slow down the app and create a bad user experience.
Delete the validate field from the useFormik hook, and move the logic into the onSubmit field instead.
As you can see, we've also updated our error handling. Since we are no longer using the built-in Formik validation function, we now need to manage our own errors state. We can do that easily by using the useState React hook and the setErrors handler.
Make the following additional changes to finish updating the way error messages are handled.
Send a Validation Request to the API
Instead of running a Regex check in the first else/if statement, we're going to send an API request to AbstractAPI and use the response to determine if the email is valid. Write a function called validateEmail that accepts an email as a parameter, sends it to the API for validation, then returns a boolean value based on the result.
Next, call this function inside your onSubmit handler and pass it the email from values.email. You'll need to update the onSubmit handler to be an async function.
The response from the API will look like this:
Right now, we are only looking at one field of this response object: the is_valid_format field. To make this validation method even more robust, you could write a helper function that examines each of these fields and returns a boolean value based on whether all validation criteria are met.
Head back to http://localhost:3000 and try submitting an invalid email. You'll need to wait a moment for the error message to pop up because the validation function is making a network request. Another way you could improve this app would be to add a loading spinner once the submit button has been hit so that the user knows something is happening and doesn't try another submission attempt.
Conclusion
In this article, we looked at basic email validation with Formik. We were able to test validation with Formik's built-in validate field, and we were able to create robust validation using a dedicated third-party API.
FAQs
How do you validate Formik?
Validating with Formik can be done in several ways. Formik provides methods for both form level validation and field level validation when you use the Formik component. You can also access these methods using the useFormik hook.
Formik also provides out-of-the-box support for Yup validation. You can pass a yupSchema field to the useFormik hook when you pass initial values. This schema will be used to validate the fields provided to the formik instance.
How do I validate an email in React?
You can validate an email in React using Yup or Formik to manage your state and validation logic, or you can roll your own component and validation using React Hooks and custom-built components.
We recommend using a dedicated third-party API to handle email validation, as opposed to rolling custom validation functions, as an API will provide more robust validation such as looking up SMTP and MX records and checking that the email address is not a known spam account.
What is Formik dirty?
"Dirty" in Formik implies that a form or form field has been changed or touched by the user. Formik dirty returns true if the values currently in the form do not match the initial values, and returns false if the initial values match the current values.